
How to Do a Biceps Curl With Water Bottles at Home
The easiest part of a biceps curl with water bottles to overlook is the trip back down. Try one slow curl. If you can bring the bottles back to your sides without swinging them or tipping your shoulders forward, you’ve found a useful starting weight.
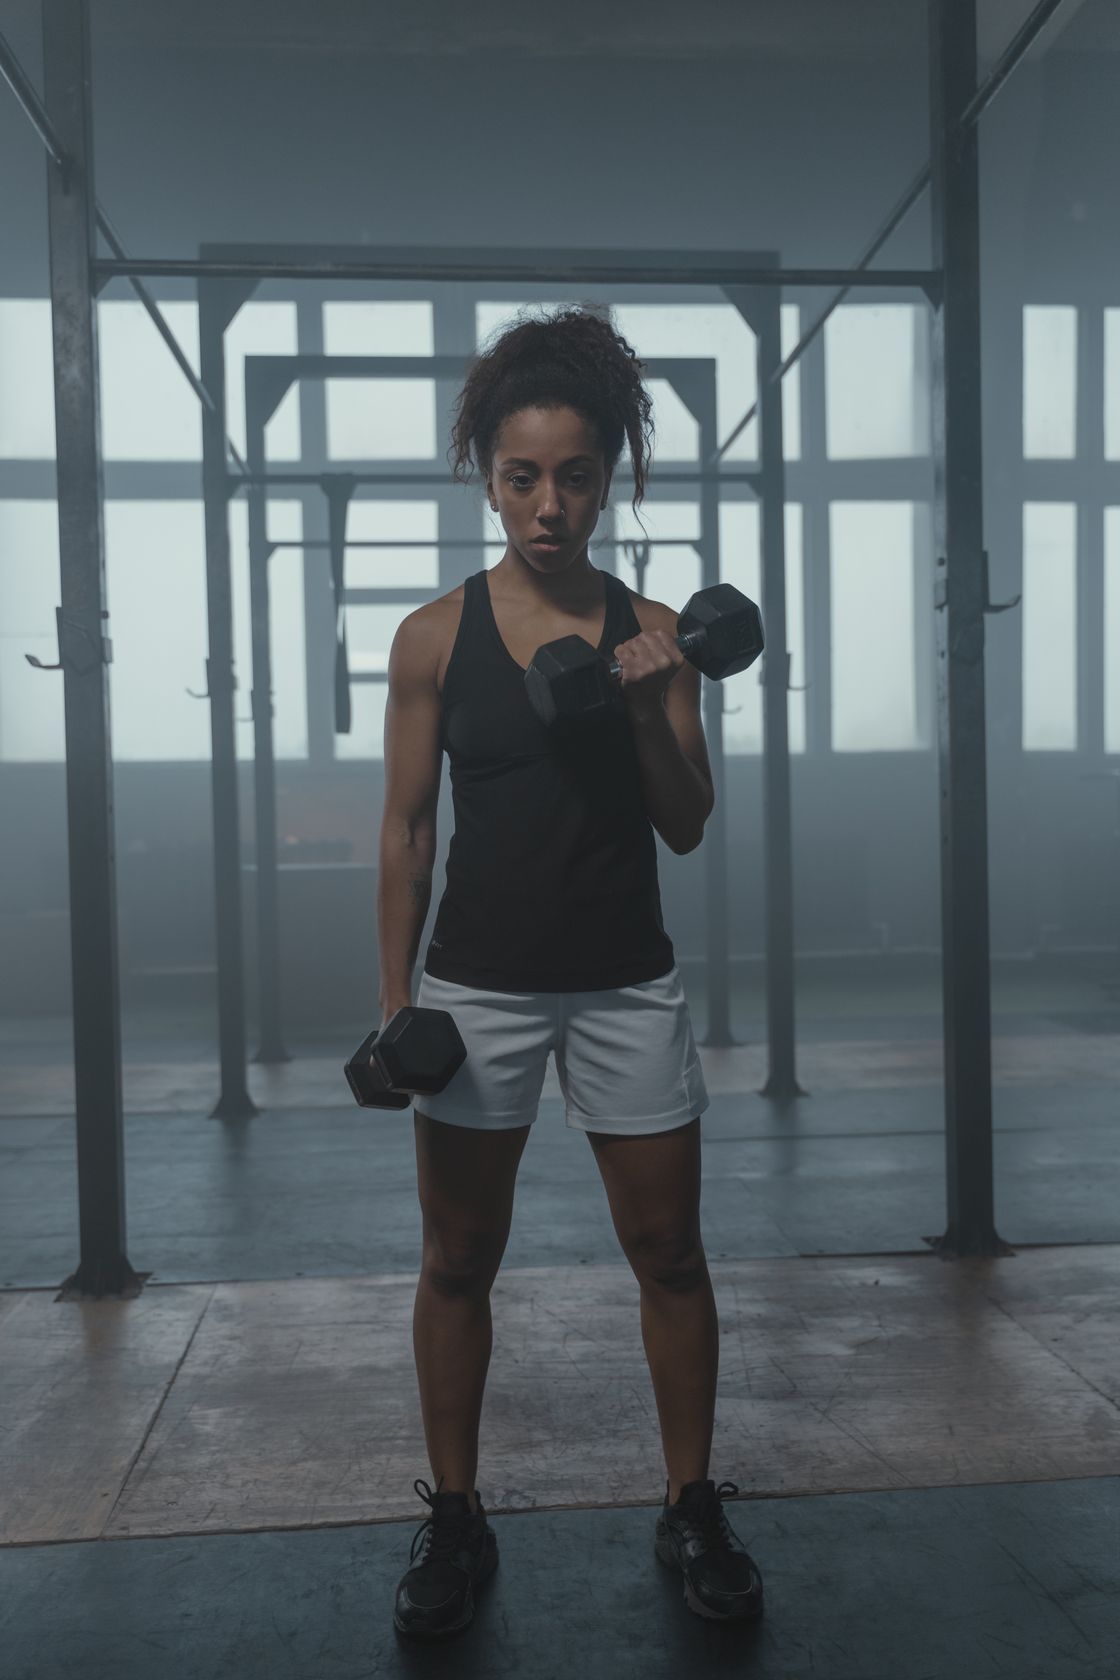
Set up a pair you can hold comfortably
Choose two matching plastic bottles narrow enough to grip without squeezing hard. Fill them to the same level, tighten both caps, and dry the outside. For a light first try, half-fill two 500 mL bottles. Each will hold about 250 grams of water, plus the weight of the bottle itself. Pour some out if the first repetition feels awkward.
How to do one controlled curl
- Find your starting position. Stand with your feet about hip-width apart, or sit upright on a stable chair with both feet flat. Hold a bottle in each hand, arms by your sides and palms facing forward.
- Bend at the elbows. Bring the bottles toward your shoulders. Let your forearms move while your upper arms stay close to your ribs. Keep each wrist in line with its forearm.
- Lower and pause. Follow the same path back down until your arms are comfortably extended. Let the bottles settle before you start the next repetition.
For a picture of the starting, lifted, and lowered positions, see the biceps curl in the NHS strength exercise guide. If you prefer to stay seated, you can pair it with a movement from our beginner chair exercise guide.
Mark the fill level for next time
A strip of tape makes the setup easy to repeat. Mark the waterline while the bottle stands on the counter. In your notes, write something like “500 mL bottles, half full, five seated curls.” That’s enough to recreate the session without weighing anything.
If that setup feels comfortable over several sessions, try one more smooth curl at the same fill level. Record how the last repetition felt using our beginner workout log template.